If you haven’t already, check out our Game Concept / Vision!
In this post we give you a detailed description on how we built the control cube that will act as a our game controller.
First we started gathering the components and planned the minimum dimensions we needed to fit everything nicely.
The electronic components needed are the following:
Arduino Nano: This will be the main controller, which runs all of the firmware code.
HC-06 Bluetooth Module: Used for wireless communication with the computer.
MPU-6050 (GY521): Used to detect the rotation of the cube.
DC-DC boost converter: This will handle the power delivery to the Arduino.
LiPo battery: A generic battery for wireless usability.
Charge Controller: To charge the battery.
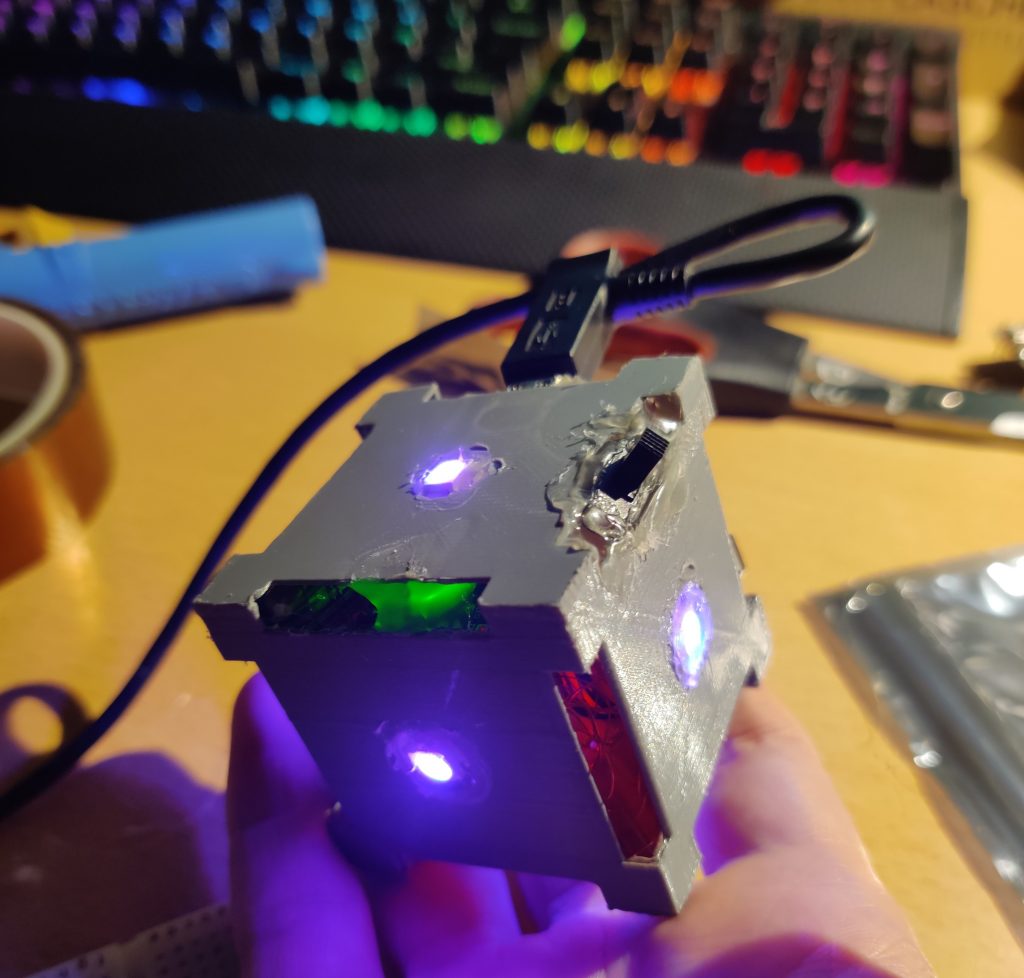
WS2812B LEDs: The final Cube has RGB LEDs on all sides.
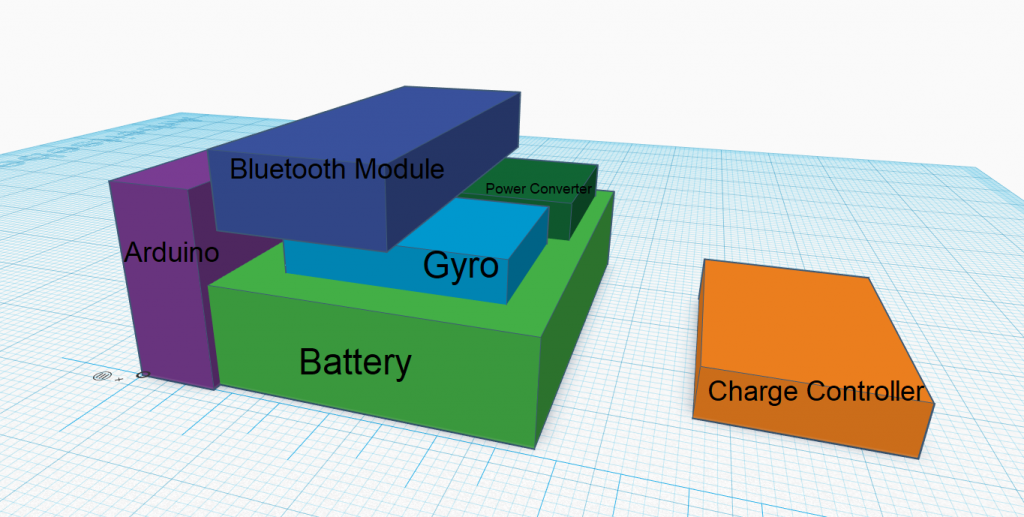
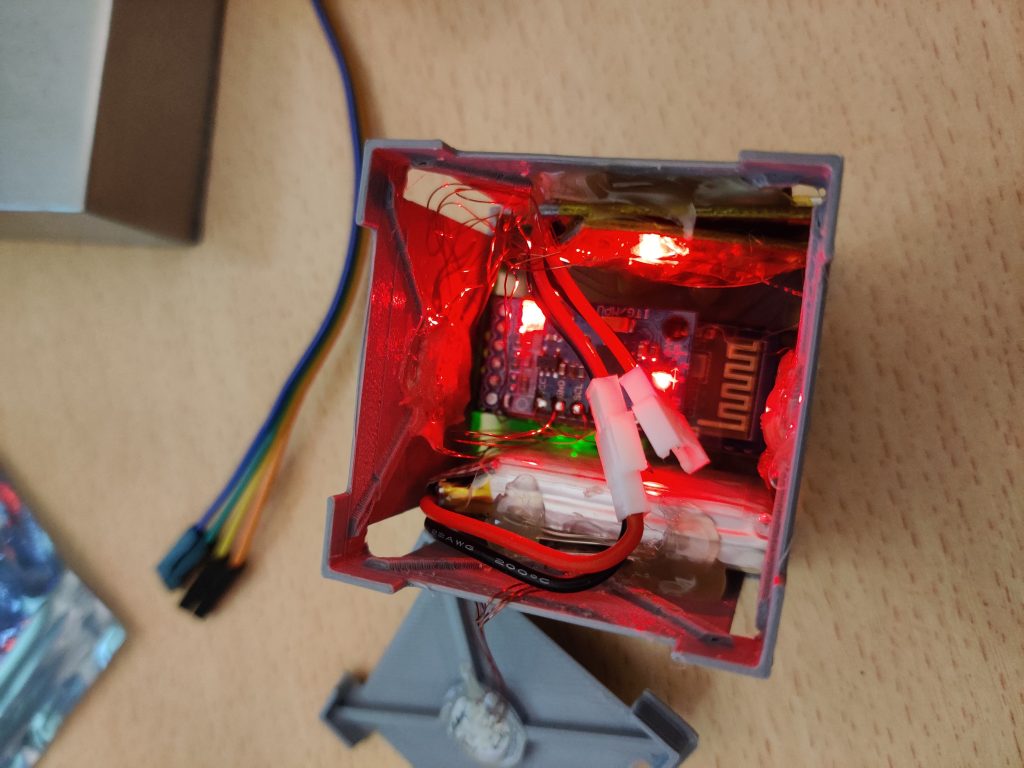
The next step is to design a box that will house everything. We tried to keep it as open as possible, so we can vary with components if needed and reuse the housing. Also there are holes to fit the LEDs.
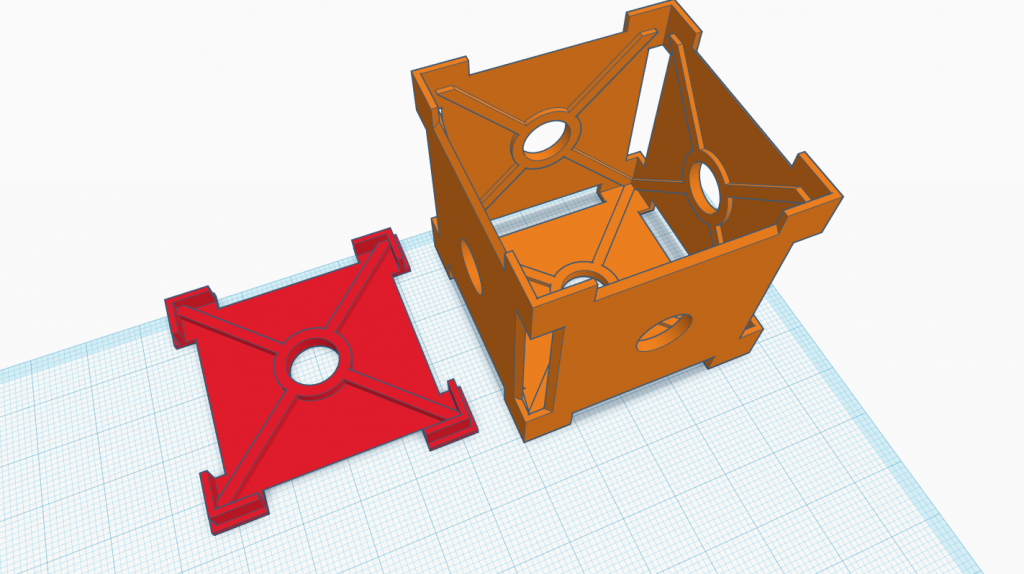
This box will be fitted into a larger cube to make it look nice and hide the ports and hotglue.
For now though, we can 3D print and install the components into the box.
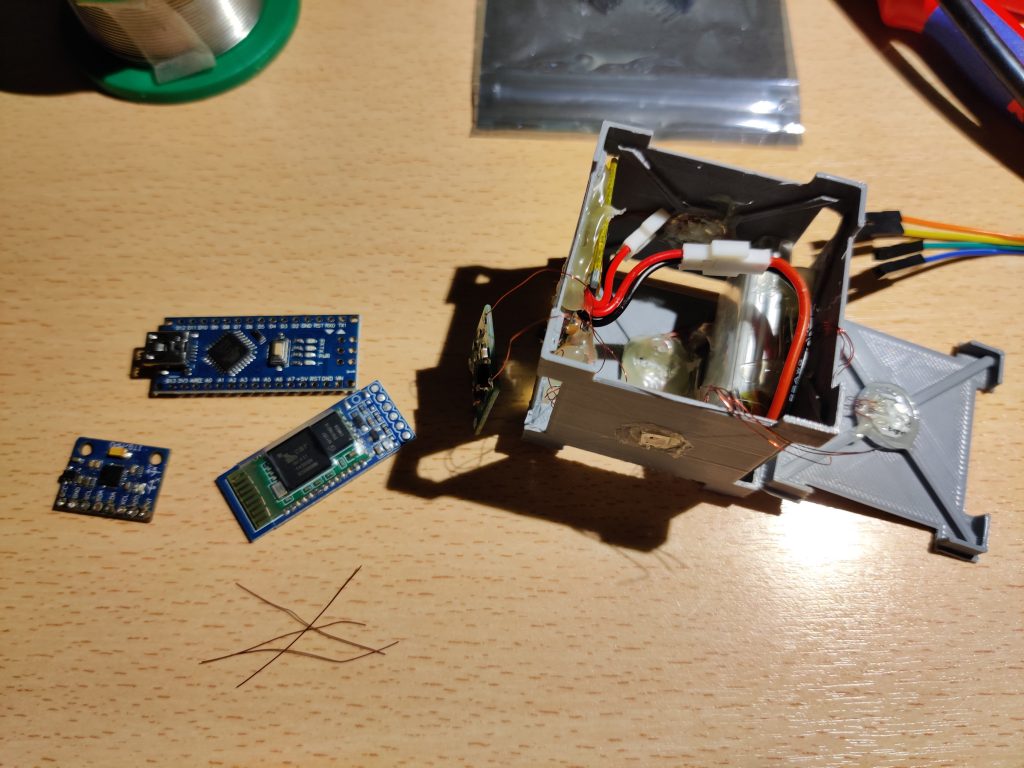
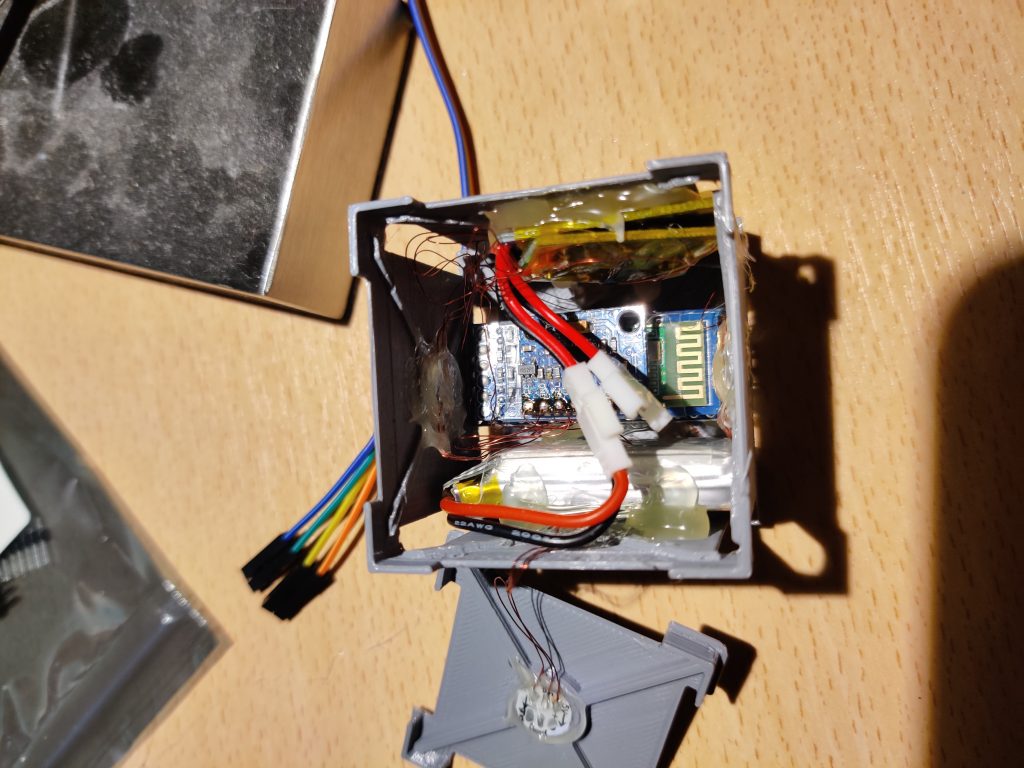
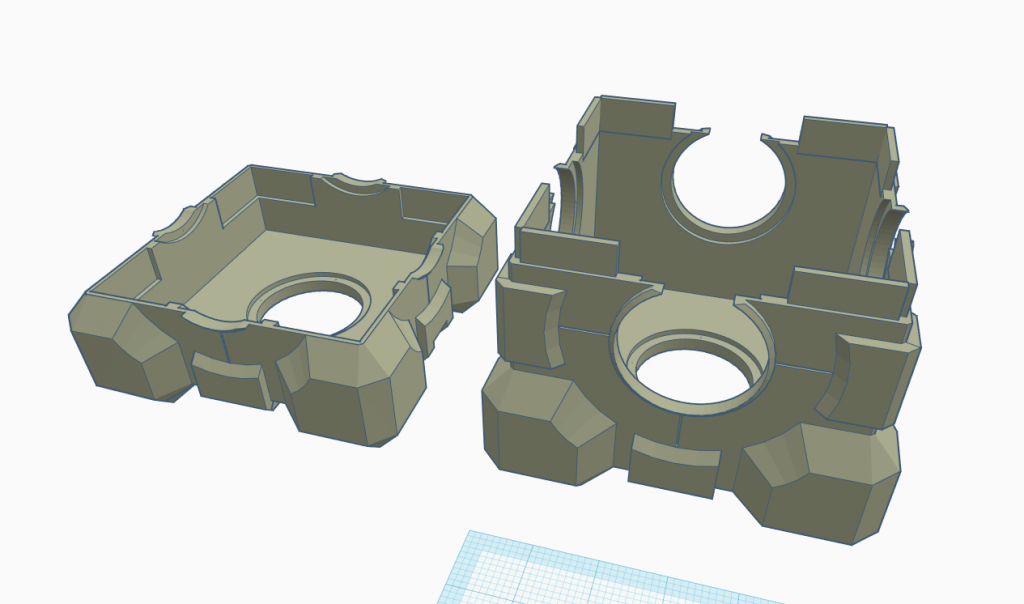
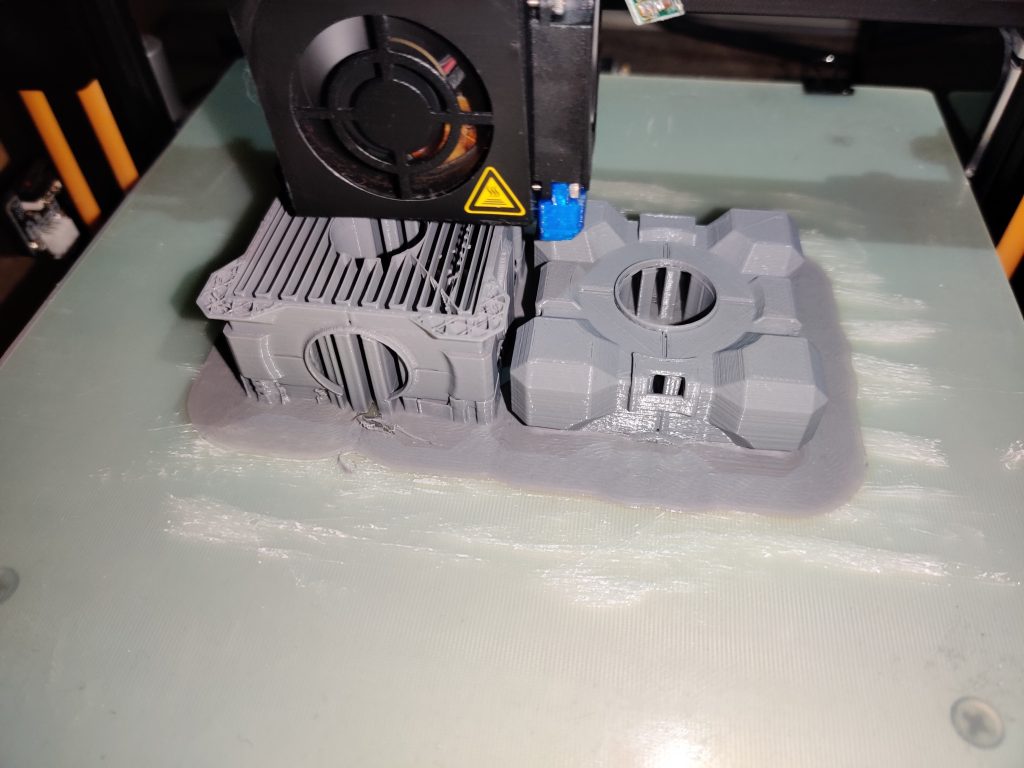
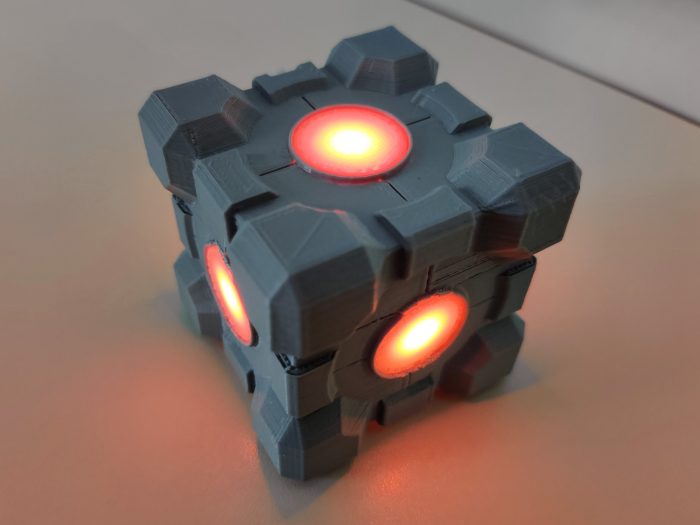
The externals will be focused on looks and not be functional. We used a cube design from a well known game as a template. (It definitely has nothing to do with cakes or lies 
When we were done, we printed everything and fitted the inner box inside the housing to finish our final design of the cube.

Thanks for reading, feel free to leave your thoughts and ideas in the comments!


Hey, I like your project idea and I look forward to see your final result.
You gave a detailed description of your used hardware components and your motives behind the realisation and the design. A lot of images make your explanation easy to understand. Maybe a little more description (at least 1 statement) under each pic would be nice and I don’t see the point in showing the same image twice (final design image).
Best regards and keep going 🙂
Dominik